JDownloader very slow after upgrading to DSM7

I finally decided to upgrade my Synology NAS to the latest release and encountered several issues. One of them was that JDownloader had become very slow with a high cpu load. As the Oracle JAVA runtime isn’t supported (yet?) on DMS7 version you’ll have to switch to open JDK as the instructions indicate. Instead of a re-installation, I decided to keep my current JDownloader installation which seemed to work reasonably well until I started to download something which was very slow.

After some searching I found out that you’ll need to do a re-installation as the installation procedure installs a different version when using the openjdk runtime. After installation you could just copy the CFG folder to keep all your settings…. I compared the folders and the jar files where indeed different. However… the download speed was as slow as it was before 😦

This was caused because I used the DSM integrated runtime (interpreter!) instead of the one found in /volume1/@appstore/java-installer/bin/java

So check the JDownloader settings section to see if you’re running the wrong (=zerovm) version.
CH yoke servicing

Note: I can’t recommend doing this anymore, see my remark at the end.

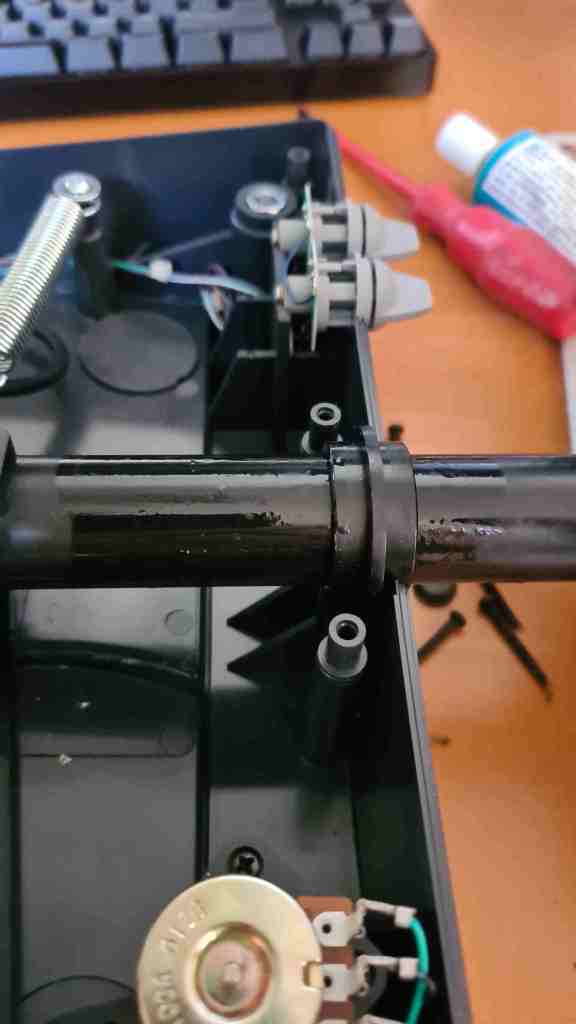
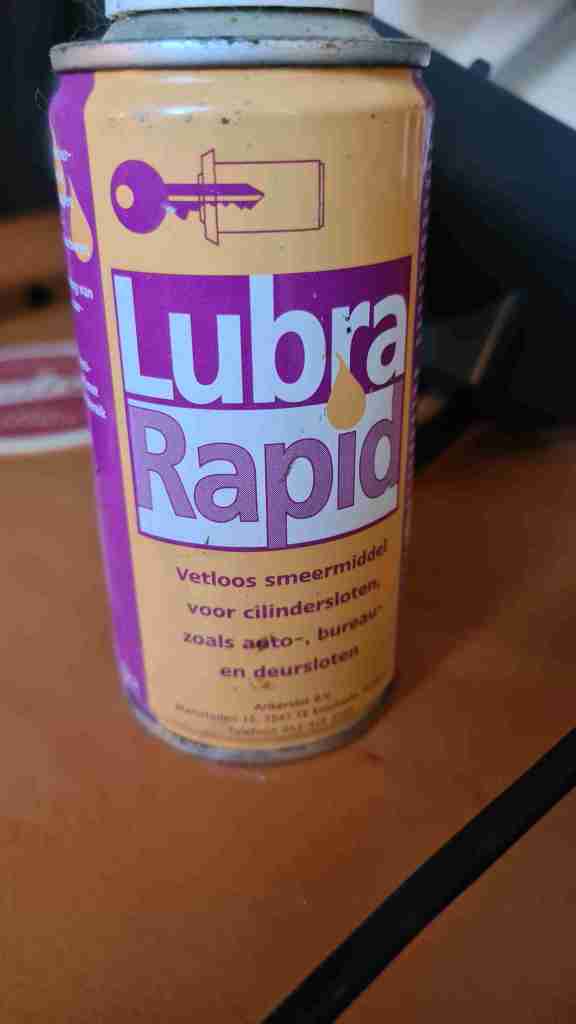
With the release of MSFS I decided to pick up my old hobby again and install that old CH yoke. However, I noticed that moving the yoke had become difficult. After seeing this YouTube video which shows how to open the unit I decided to take a look inside to see if anything could be done about this. As my yoke is already quite old I decided to take a gamble and apply a lubricant which doesn’t contain grease for service locks. The idea is that it won’t cause more dust to get stuck again…

After spraying it looked like this:

It looks like a lot of oil has been applied but most of it dissipated. Next, I removed the excess residue before re-assembling the unit.

For now the yoke is working much better so let’s see how this will play out in a couple of weeks.

Warning: if you’d like to try do this yourself please test the spray on a plastic part to see if it does any damage.

Update – 28-11

Not totally unexpected, I can’t recommend doing this anymore as the effect has already waned of. It seems that the lubricant which I used did leave a very small amount of sticky residue and the performance has already degraded.

Litterbot 3 – yellow flashing light again and small improvements

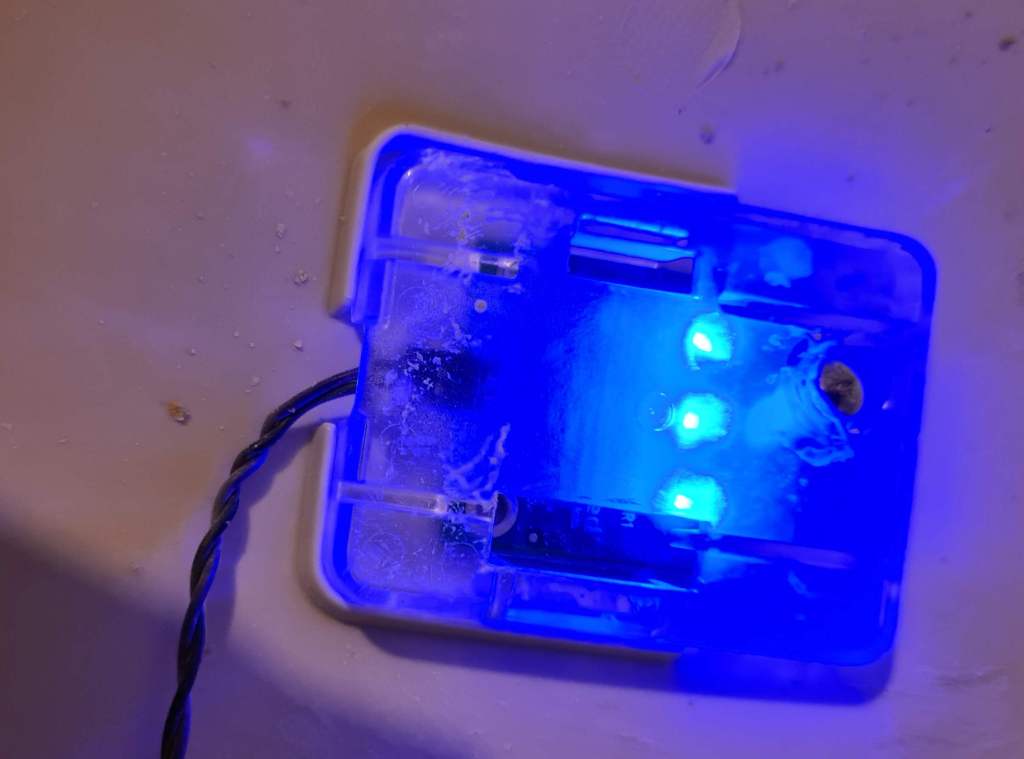
My unit was working fine but finally the slowly flashing yellow light came back. I had already tried the usual improvements but didn’t help so I decided to replace the weight sensor. However, the problem still remained. Sometimes it just worked, and then it failed. I finally found the answer in this thread which gave the answer: it’s the lighting in the bonnet which is to blame as it also contains a sensor. As a quick fix you can disable the night light (press the on / off button for 5 seconds) or you’ll have to replace the entire bonnet. For now, the light has been turned off and the unit is working fine again.

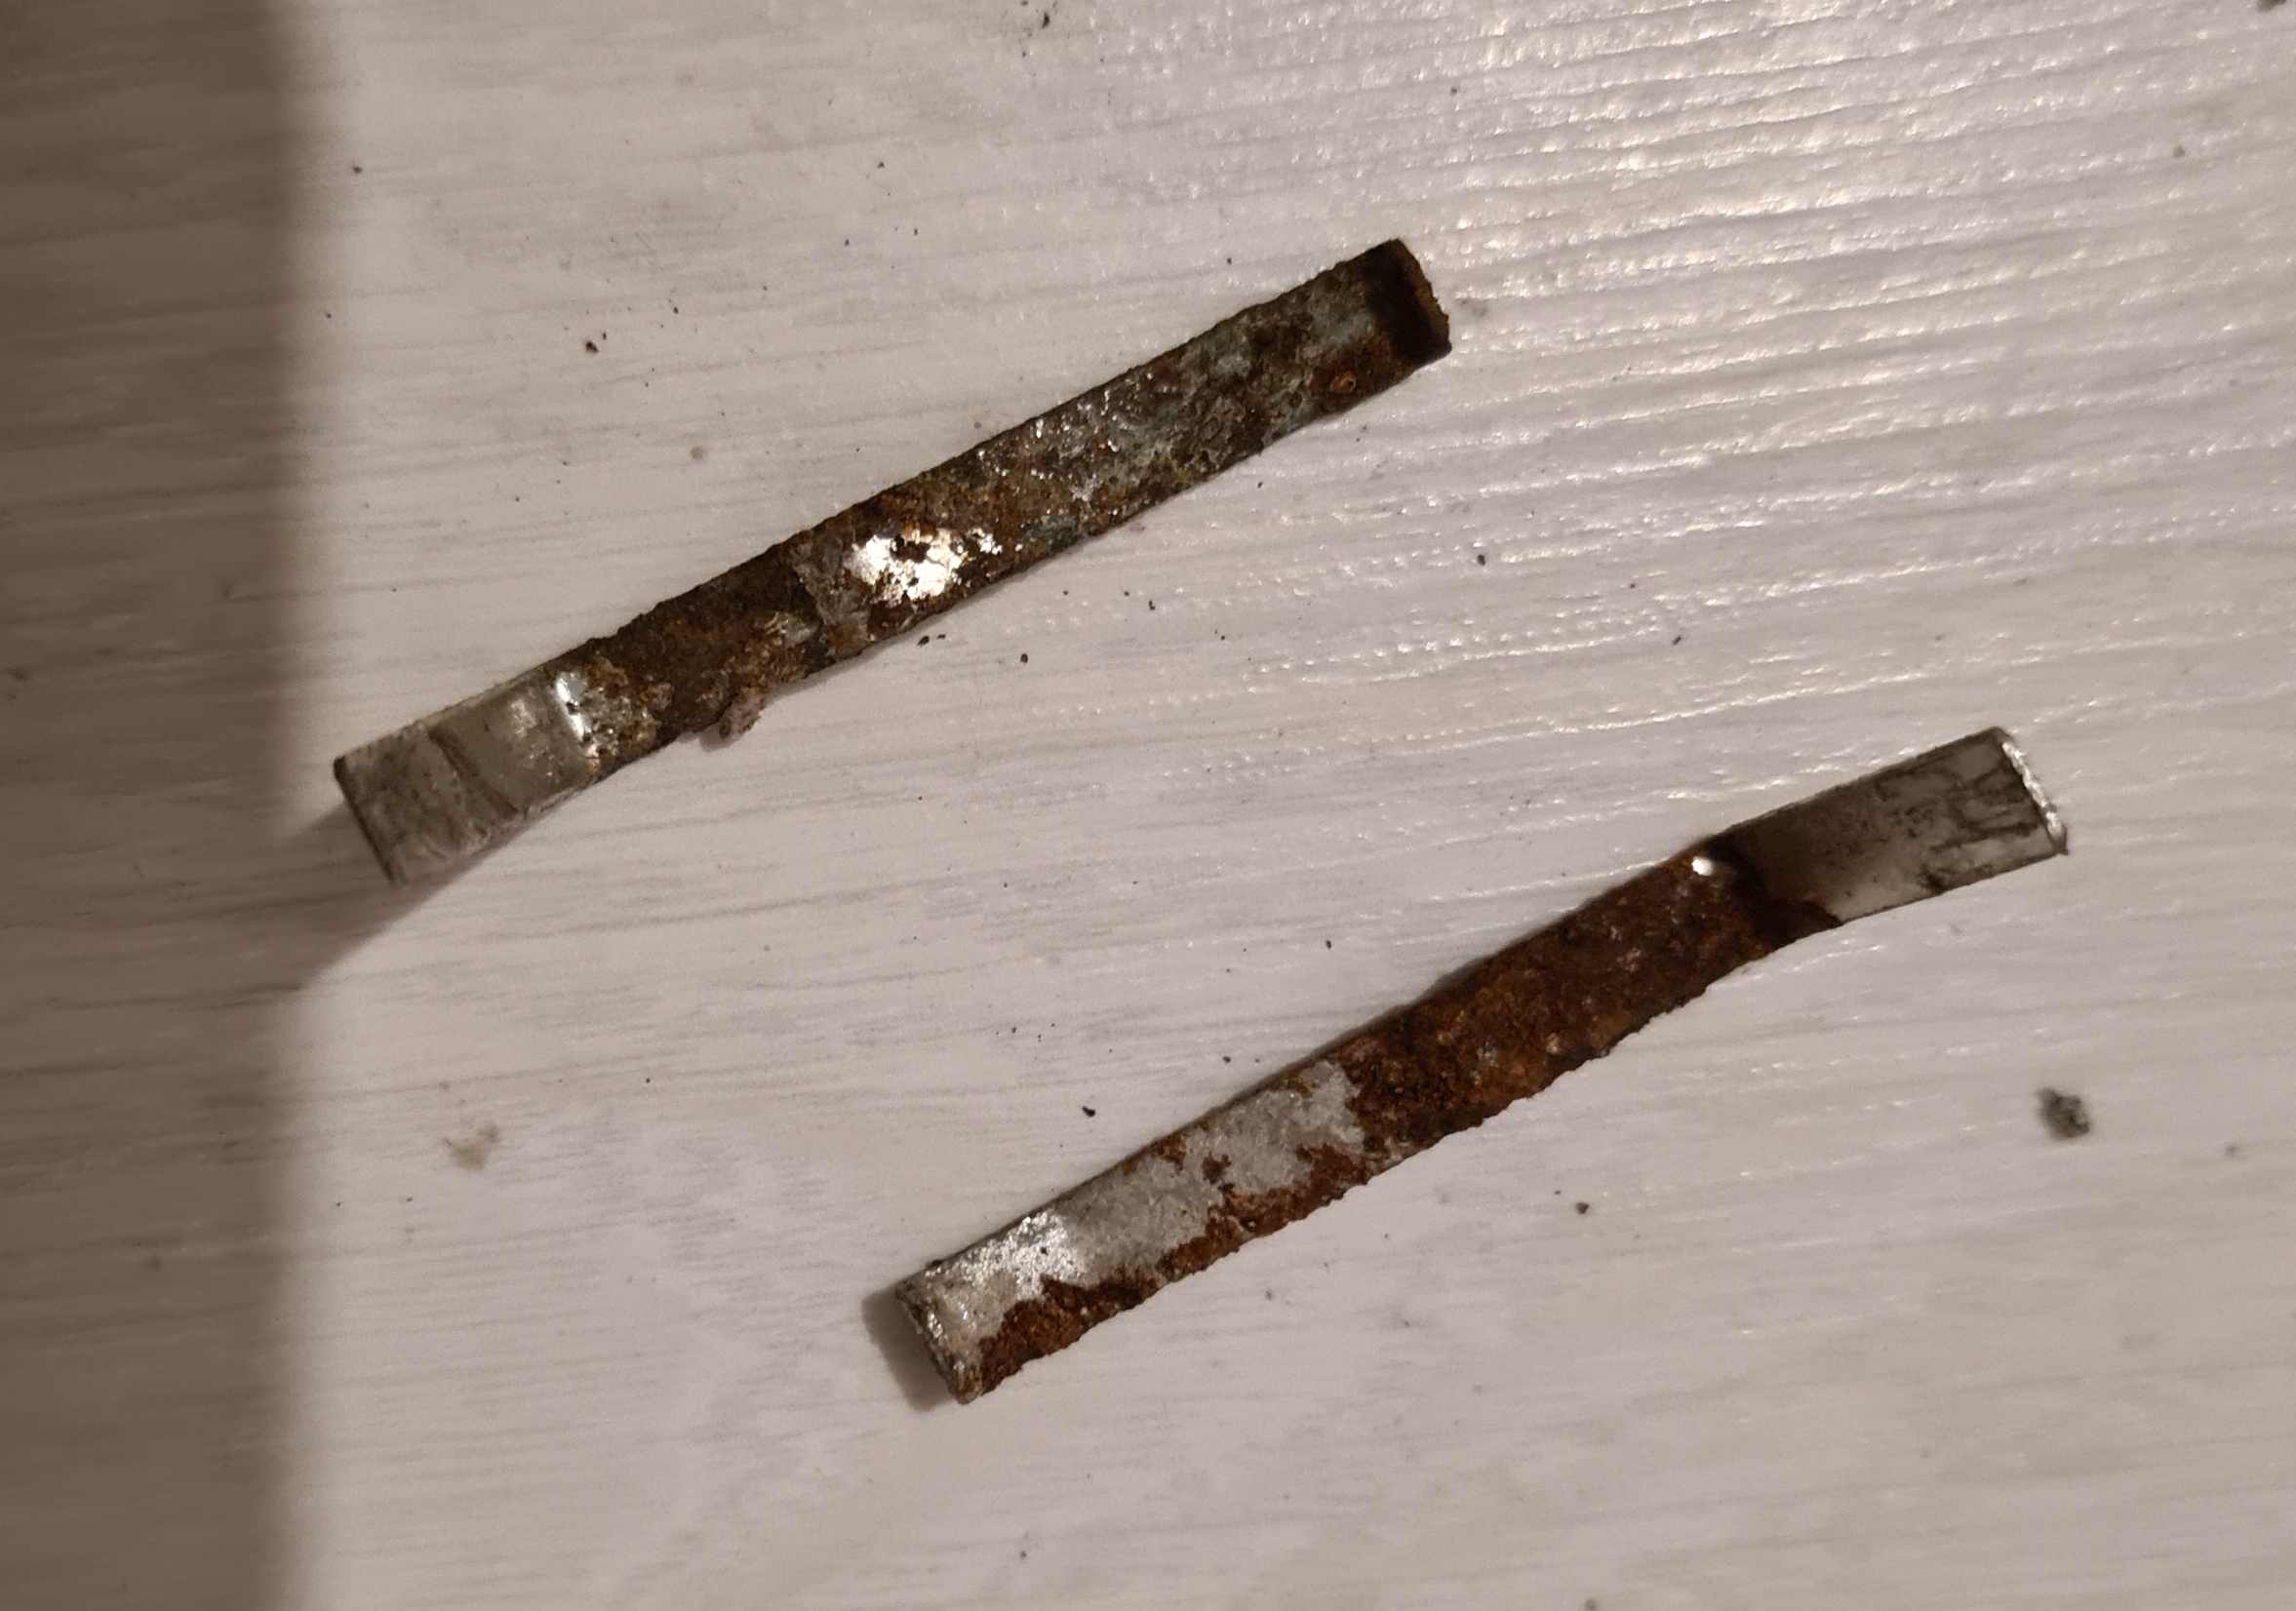
After replacing the weight sensor I noticed that the pinch sensor metal bits were heavily corroded:

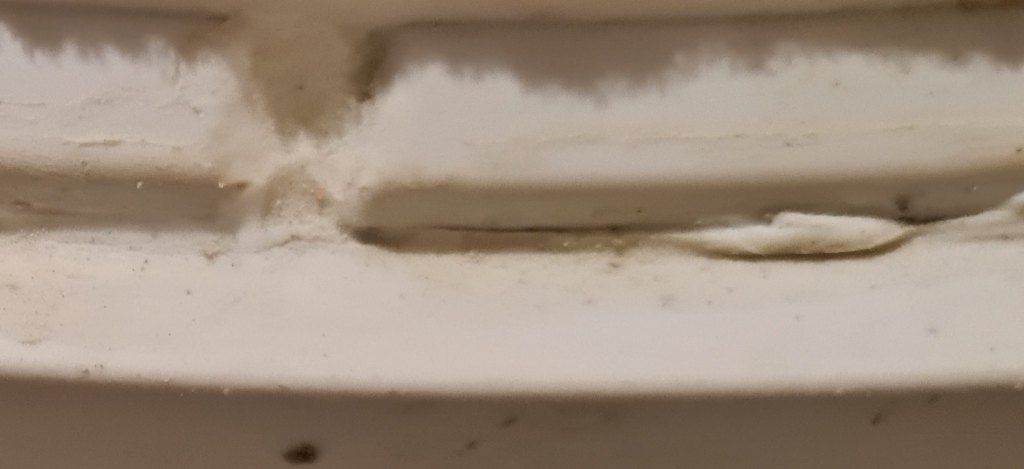
And via a small gap a lot of litter will get very close to it which will greatly accelerate the corrosion IMHO. As an experiment I used an acrylic sealant to close this gap. I’m very confident that this won’t stop the protection from working as it almost doesn’t stick to the plastic surface. So in my case I’m confident that the pinch protection still works fine but I can’t recommend you to do the same as it can be dangerous to the health of your cat(s). So please do some testing before you try this.

So there’s a sensor in the ligh module, cleaning it didn’t help